How to Patch A Bicycle Tube in 4 Easy Steps

Anyone who has been riding bikes for a while can tell you that sooner or later, you’re going to get a flat. Even with tube sealant that prevents flat tires for up to two years, it’s just an unavoidable occurrence. When flats occur, the best thing you can do is be educated and prepared to patch the tube so that you can quickly get back on the road. Let's get started:
Materials Needed
Consider these different flat tire scenarios: The at-home repair scenario where you're walking your bike into the garage and notice that the back wheel is sagging a little bit—you have a flat. Or, the on-the-trail repair scenario where 20 miles into a 50 mile ride, you go down hard on a rock and get a nasty pinch flat.
We’re going to walk you through some of the materials you’ll need for either situation, and then how to use them for both. Here’s a list of some things you will need to repair your tube.
- Bike Pump (or CO2 inflator head and cartridge): Whether it’s a handheld bike pump or a standing pump, you’re going to need to re-inflate the new tire or your patched tire.
- Spare Tube or Patch Kit: Having a spare tube on hand is a smart move, and we’ll discuss how to install that in another blog. In this case, a patch kit is going to be an essential tool to have whether you’re at home or on the road.
- Tire Levers: A tire lever is going to be a critical tool to help you get your tire off the rim.
- Chalk (optional): Chalk can help when you have a small puncture and just need to mark your tire to remember where the hole is.
- Talcum Powder (at home): Talcum powder would be more of an at home method, and is usually powdered over the tube so that the adhesive patch doesn’t stick to the tire once you put your wheel back together.
- Bucket of Water (at home): The bucket is another at home remedy that we’ll discuss the applications of later.
Procedure
Follow these 4 easy steps to patch your bicycle tube and repair your flat.
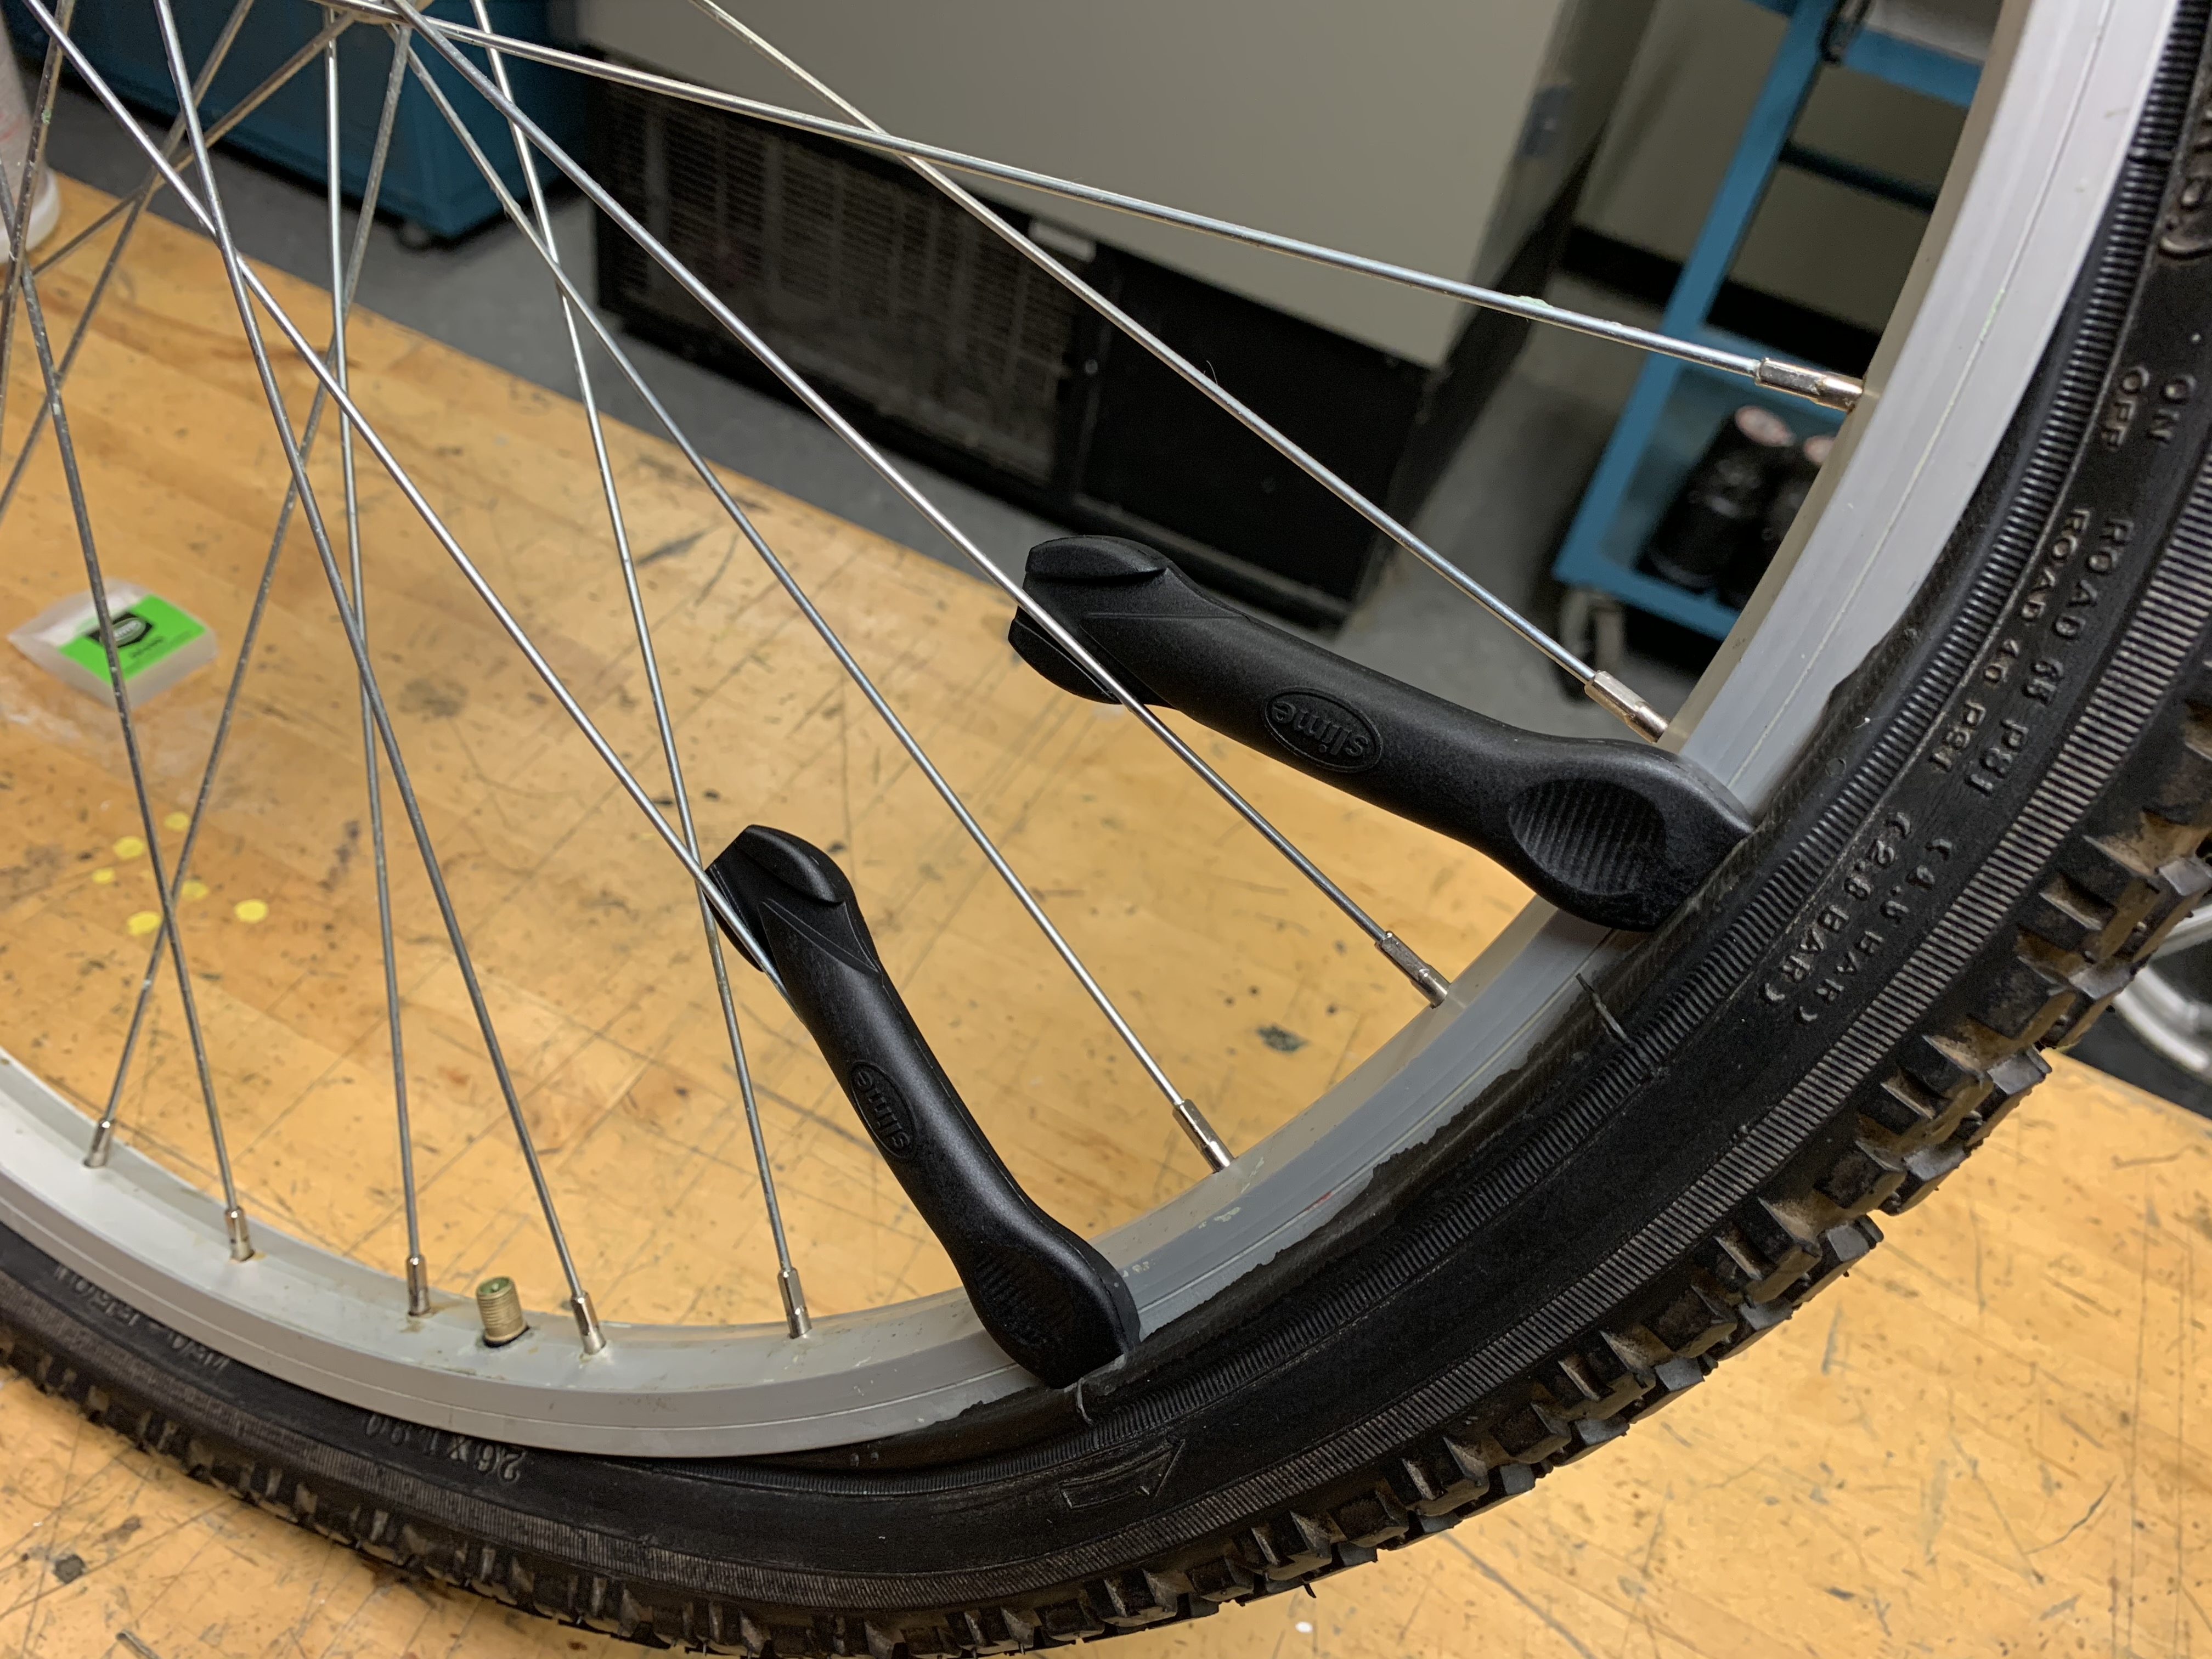
Step 1. Remove Your Tire
Take your tire lever and hook it around the outer edge of the tire (the bead) to get it off of the rim. Once you have the tire lever under the tire rubber, hook the other end of your tire lever around one of your spokes to keep the tire elevated. With a second tire lever, work your way around the rim, taking the tire out of the bead until one side has been completely removed from the rim.
Step 2. Find the Leak
If the puncture or gash in your tube is not easily apparent, you’re going to need to fill the tube back up to locate where the air is escaping from. There are a couple of different ways to find the leak. The layman’s way would just be to run your hand along the tube and try to feel it out.
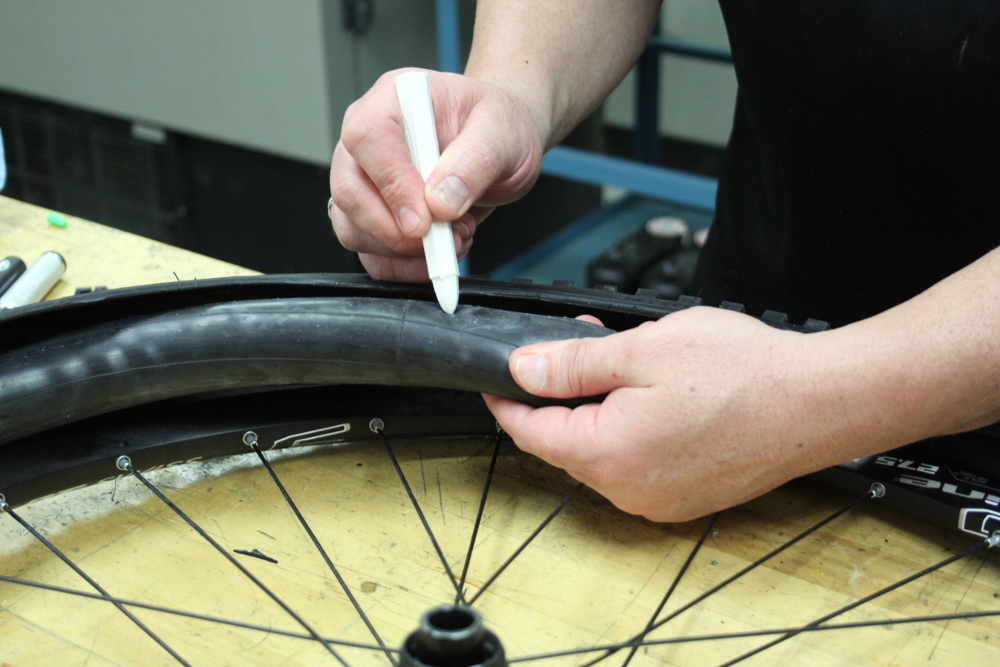
The bucket of water method that we mentioned earlier, however, is a more accurate way. If you’re at home, fill your sink or a large bucket full of water and submerge each end of the tube. Watch for air bubbles escaping from your tire to locate your problem area.
Make sure you submerge each side, as there may be more than one puncture. Be sure to check the inside of the tire to make sure that the puncture-causing object has been removed. Once located, mark that spot with your tire marking chalk.
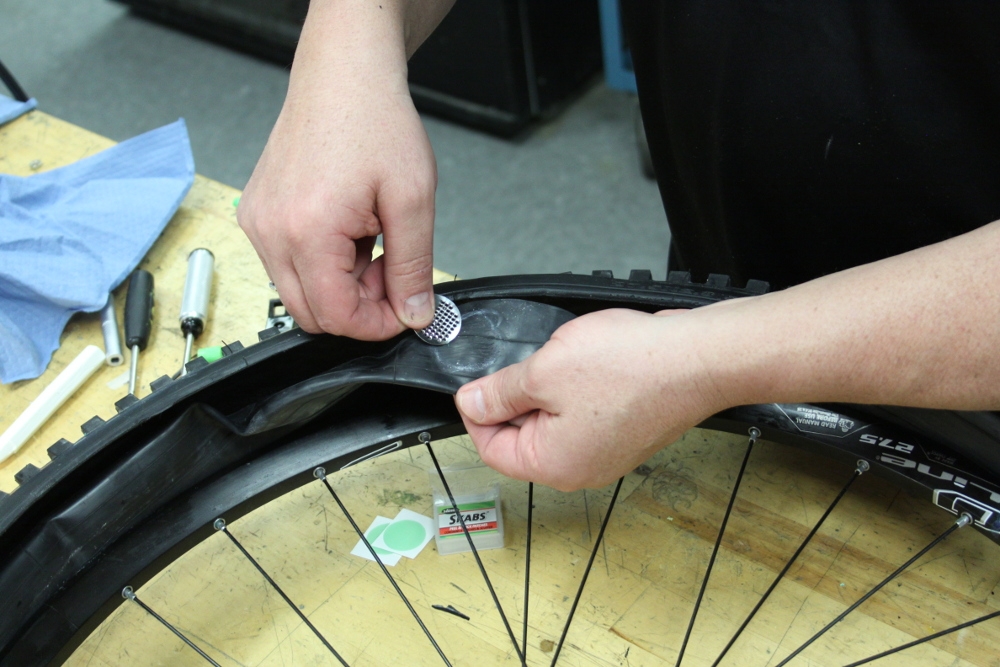
Step 3. Patch the Hole
When patching the hole in your bicycle tube, make sure that the area around the puncture is clean so that the patch will stick. Using the scuffer from your patch kit (sand paper or emery paper will also do the trick), rough up the area around the puncture so that your adhesives have something to grip.
Step 4. Put It All Back Together
Put a little air into your tube and then put it back in the tire, making sure, again, that there are no foreign objects remaining in the tire. Be sure to insert the tube and tire back into the rim using only your hands, as the tire levers may pinch the tube and cause another flat (we certainly don’t want that after all your hard work).
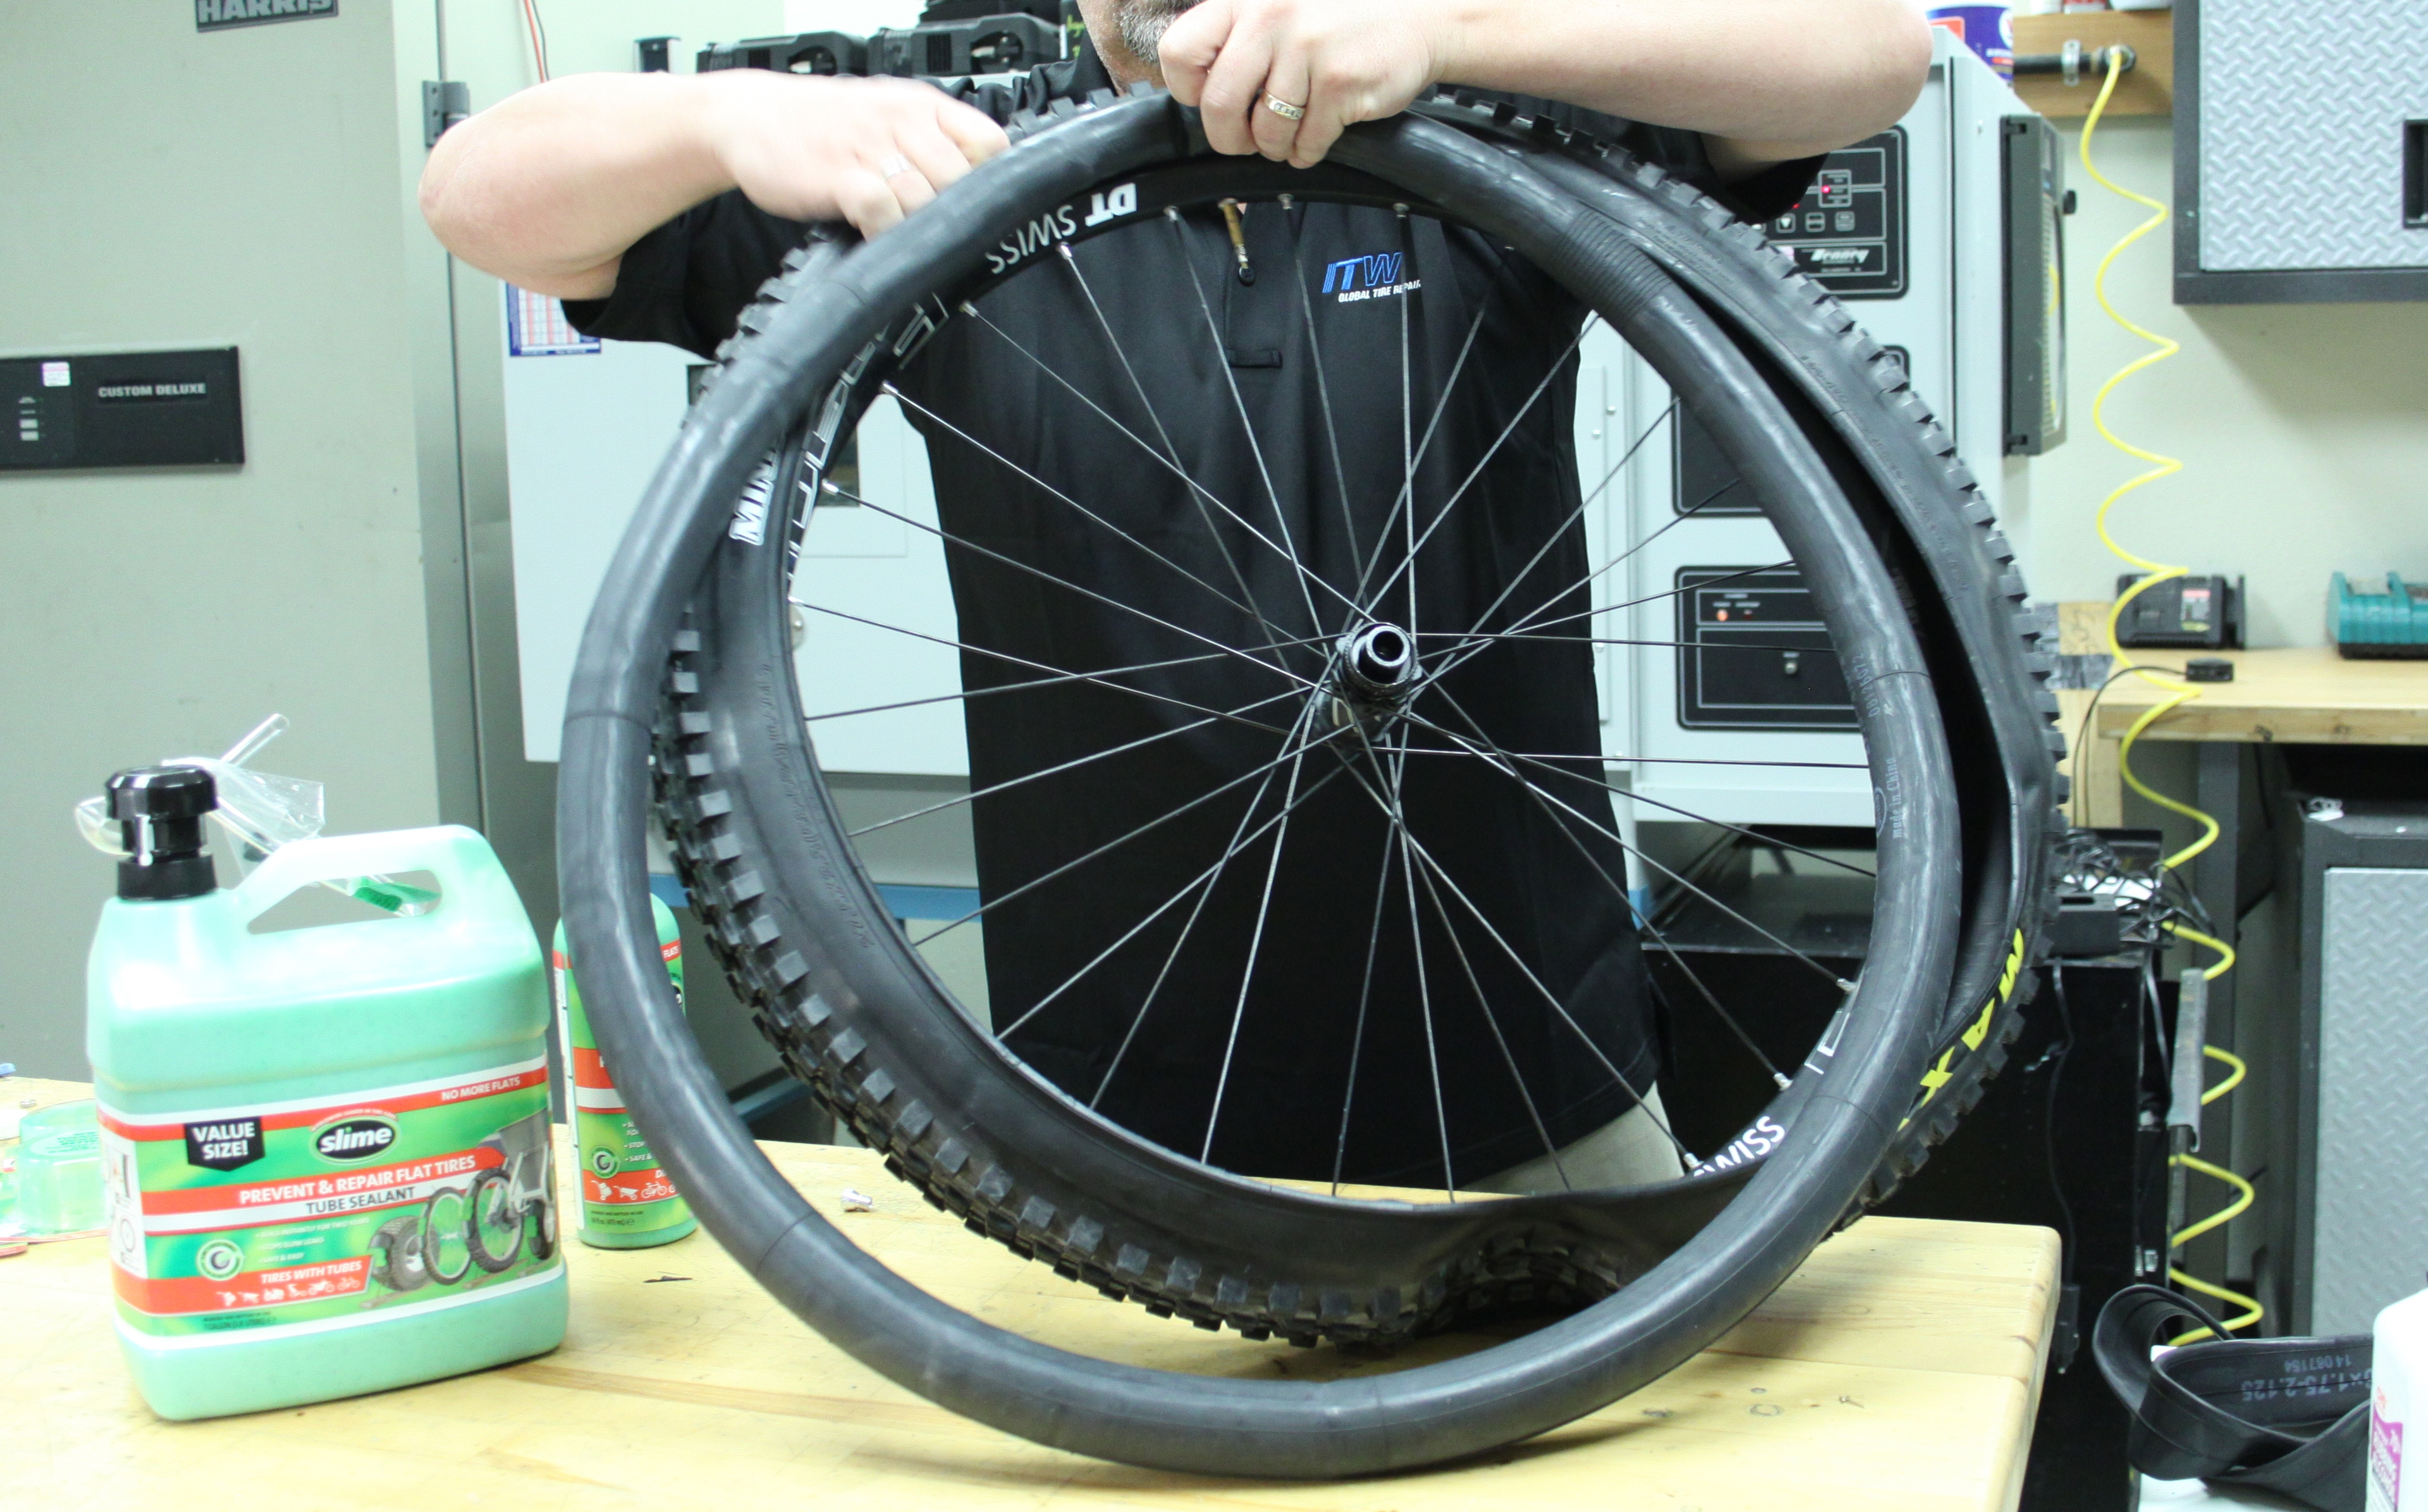
Once you’ve pushed the tire back in and the valve stem is securely inside the tire, inflate your tube back to maximum pressure, being sure to check the tire one more time to make sure that the bead is installed snugly. Ready to ride!